

“Stainless hinge, custom size” is a starting enquiry, but it leaves too much open for a comparable custom marine hardware quote. Add the mating part and installation view. The supplier needs to see the mounting faces and movement space before it can understand what the requested size has to achieve.
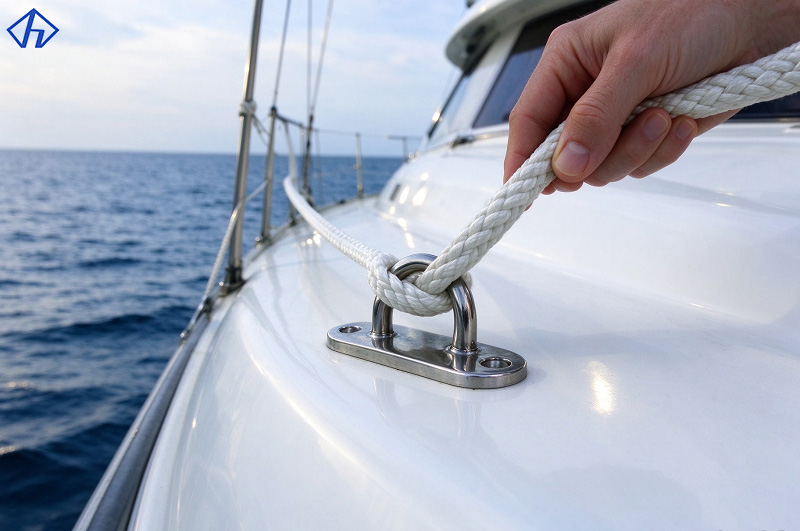
Add an installation view where the part drawing leaves access unclear. Show the rail that the hatch must clear, or the confined underside where a tool has to reach the fastener. These are quotation inputs, not details to discover with the first sample. HIEVER OEM/ODM support accepts a buyer’s samples or drawings and provides engineering suggestions for review.
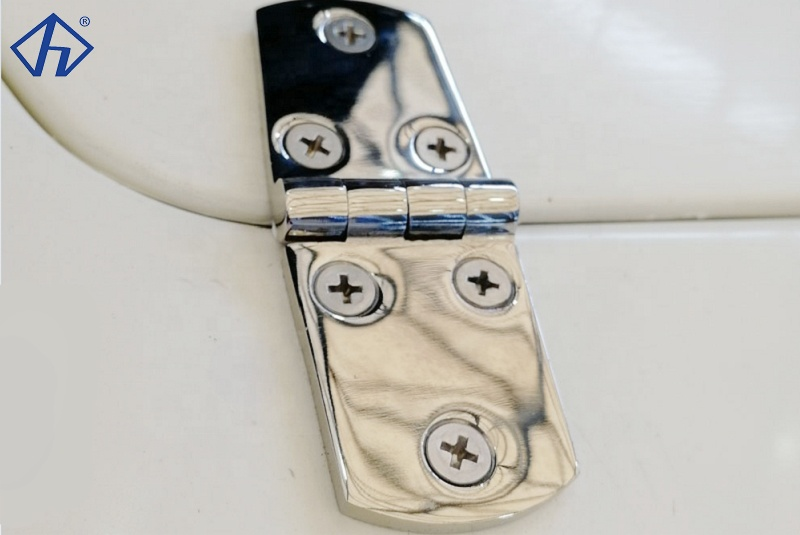
Are you modifying a known fitting or developing a new part?
Tell the supplier what already exists. A catalogue number, a sample identifier and a new drawing revision describe three different starting points. A catalogue fitting with a changed hole pattern is a different job from a new cast shape. Both may be called “custom,” but the quotation may include different drawing work, tooling, samples and inspection.
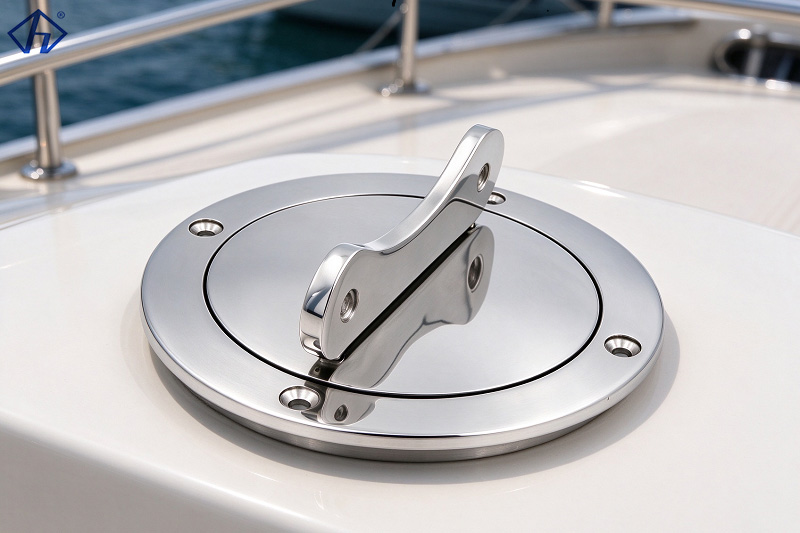
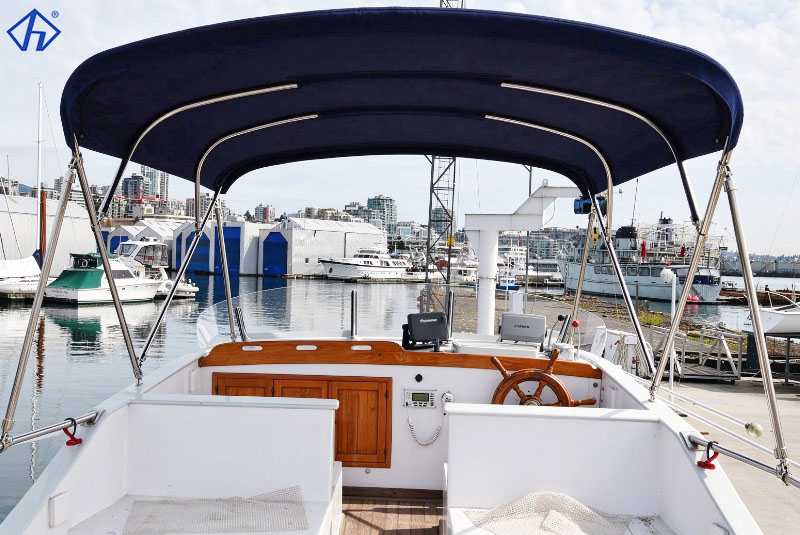
HIEVER groups its range into hinges, mooring fittings and several fluid or access-related categories, including deck fillers, vents, outlets and drains. Handrail and Bimini parts are also available. Use the relevant category to start the discussion, then explain what the catalogue part cannot do in the proposed installation. That gives the marine hardware supplier a more useful starting point than a photograph labelled “similar.”
Within the hinge range, HIEVER offers casting and stamping categories. If the geometry is new, include a process question in the RFQ. Which route is being priced here, and what does that mean for the drawing? Before you accept it as the production route, check it against the shape, mating surfaces, and finish requirements.
Show where the standard design stops fitting
When it’s just the hole pattern changing, keep the outline as is and only call out the new centres—that way the supplier can see the redesign stops there. And if you’re sending a sample, put a note on any worn area: is the supplier supposed to copy what’s there, or restore a dimension the designer gives them?
A photograph is helpful for orientation. For the mounting interface, follow it with dimensions. Use a section or measured view for a hidden recess. Do the same for the mounting centres; perspective in a photograph is not a dimension. For replacement work, the fixed interface in the boat is the reference that matters.
Which drawing details will control fit and acceptance?
On marine hardware drawings, identify the revision and units first. Trace the connection from the mounting centres through the threads and mating faces to the moving feature. Have the designer identify the dimensions that control that connection. Inspection can then concentrate on the features that determine fit, rather than treat an unimportant outside face as critically as a mounting hole.
On stainless boat fittings, use the drawing to identify which faces the customer sees after installation. The buyer might compare polish against an approved sample while checking hole position by measurement. One generic “good quality” instruction cannot describe both acceptance decisions.
An open-position view is especially useful for a hatch hinge. Put the closed position beside it, with surrounding obstructions and fastener access shown in both views. Where loading governs the design, add the responsible designer’s requirement and the evidence needed to accept it. Polish and apparent bulk say nothing reliable about the capacity of that installation.
Add a short request for exceptions. An exception should come back with the quote: “this requirement cannot be met; here is the alternative for review.” The sample inspection is too late to first discover that a different finish or process was assumed.
How should material and finish be specified?
Copy the design authority’s approved grade designation into the RFQ. If no grade has been selected, leave the choice visibly open and describe the exposure for the supplier’s recommendation. That recommendation still needs approval before it becomes a production requirement. “Marine grade” alone leaves the actual requirement unresolved.
The same applies to finish. State which surfaces need treatment, what appearance reference applies and what evidence is required. Where corrosion testing is part of the project, identify the agreed method and acceptance criteria. A general claim of corrosion resistance does not define a service life or replace the installation’s maintenance requirements.
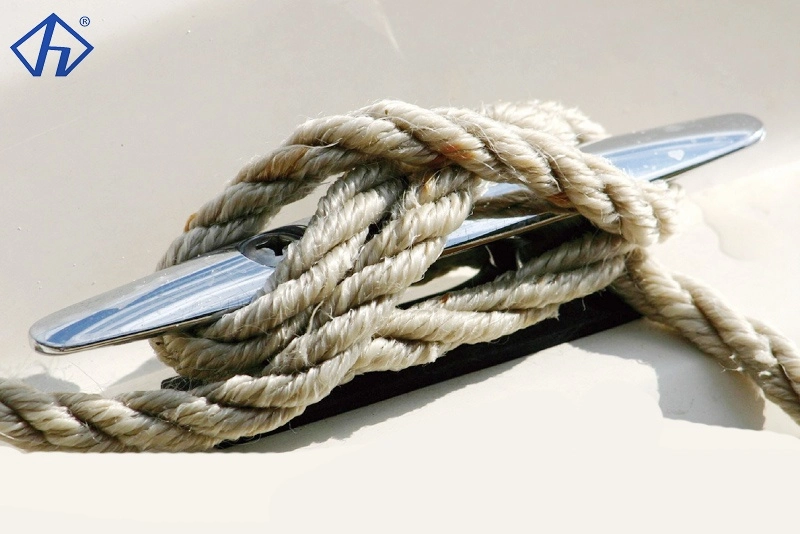
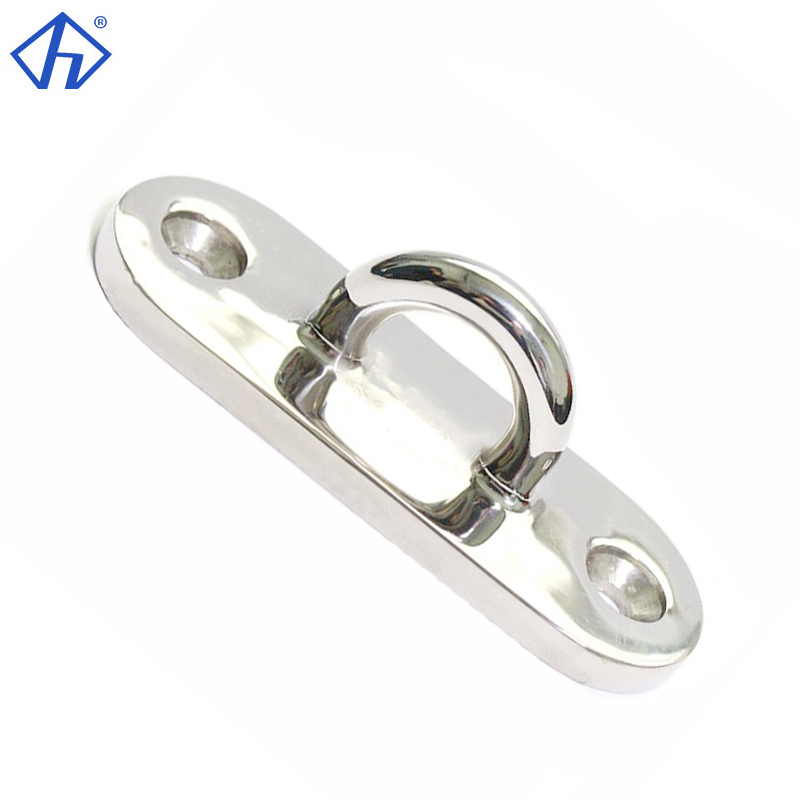
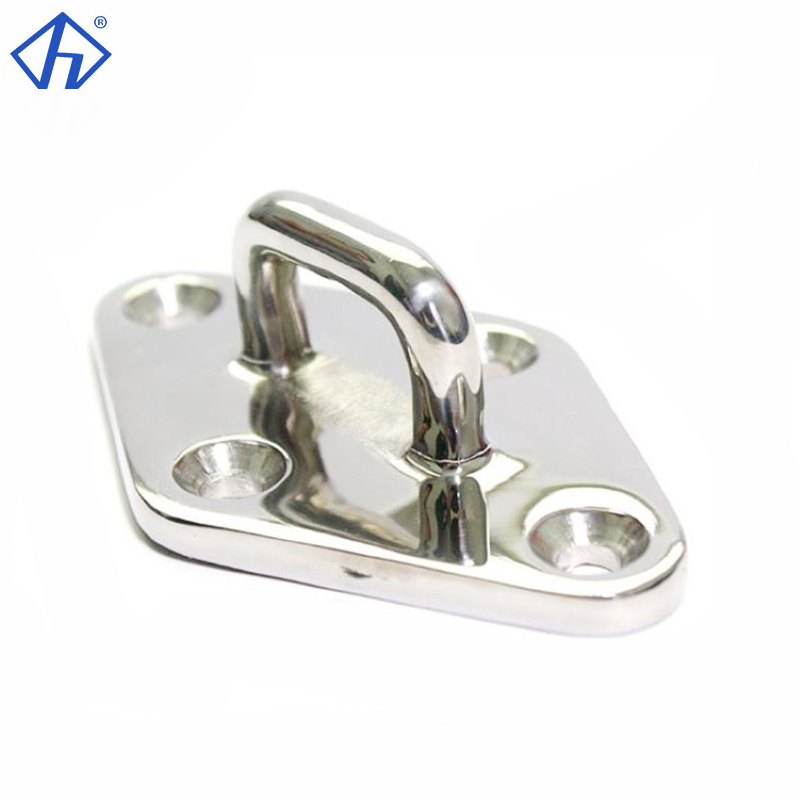
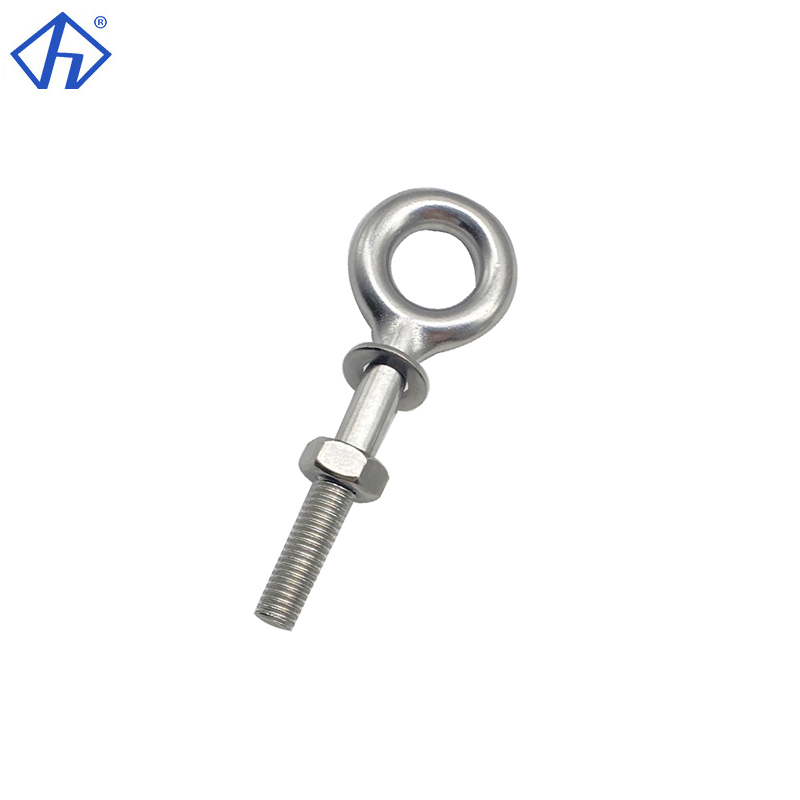
HIEVER’s marine hardware products include cleats, bollards and fairleads, as well as handrail components and cabinet or hatch hardware. These categories perform different jobs. A procurement team can group purchases for convenience, but it should preserve separate drawing and acceptance requirements for each fitting.
For stainless boat fittings installed together, retain a shared appearance reference where consistency matters. Label the approved sample and note which surfaces were reviewed. If the reference is only a finish coupon, keep that approval separate from dimensional and functional acceptance of the complete part.
What makes the quotation useful beyond its unit price?
Give the marine hardware supplier a first-order quantity and a repeat-demand range if known. Identify the requested sample date and shipping destination. A provisional forecast is still useful when it is labelled as such; an unexplained “urgent” is difficult to schedule against.
Ask for tooling, samples, unit costs, inspection and packing assumptions to be separated. For marine hardware OEM work, establish who owns any tooling and what a later drawing change may require. Confirm whether engineering review is included or priced separately.
HIEVER can offer a one-piece sample of an existing standard product without a sample charge, with express freight charged to the customer. Customized products require mould-development costs to be arranged first. Keep those two situations distinct when requesting a trial part; a standard-sample arrangement is not a promise of free development for a new design.
The sampling route also affects the programme. HIEVER distinguishes ready-stock standard products from semi-finished blanks and parts that must start with casting. Its published indications are 3–4 working days for packing stocked standard products, about 15–20 days for semi-finished standard items, and about 30–45 days for parts starting from casting. These are different starting conditions, not one delivery promise. Ask which applies to the quoted part and confirm the current commitment in the offer.
The company handles OEM/ODM work from customer samples or drawings and can provide engineering suggestions. Use that support to close specific questions: a process choice, mounting constraint, finish reference or inspection point. When a suggestion is accepted for marine hardware OEM production, transfer it into the controlled drawing and quotation. An engineering comment left in an email is still easy to miss on a repeat order.
Conclusion
Before you release the order, double-check that the part number and drawing rev on the quote line up. And make sure the inspection scope actually covers the acceptance requirements for that rev—don’t get caught out. Send the application, current marine hardware drawings, quantity range and acceptance requirements together. Then submit the custom hardware enquiry with unresolved choices clearly identified. For custom marine hardware, closing those choices early makes both the sample review and the eventual price comparison more meaningful.
FAQs
Q1: Can HIEVER quote from a physical sample?
A1: Yes, samples are accepted for HIEVER OEM/ODM enquiries. Label any wear or damage and identify the features to retain. The supplier needs to know whether it is reproducing the sample as received or developing a corrected replacement.
Q2: Should the RFQ include a required load rating?
A2: Include the design requirement and the applicable test or calculation evidence when loading matters. Do not infer a rating from material, product size or appearance. The responsible design team must define the installation requirements.
Q3: What is the next step when the design is not final?
A3: Send the installation context and current drawing, marking the open material, geometry or process choices. Discuss the engineering questions before treating a preliminary estimate as a production quotation.



Leave a comments